
How to Fit a Pond Window: Step-by-Step Installation Guide
- gareth759
- Aug 18, 2025
- 3 min read
Updated: Feb 6
How to Fit a Pond Window: Step-by-Step Installation Guide
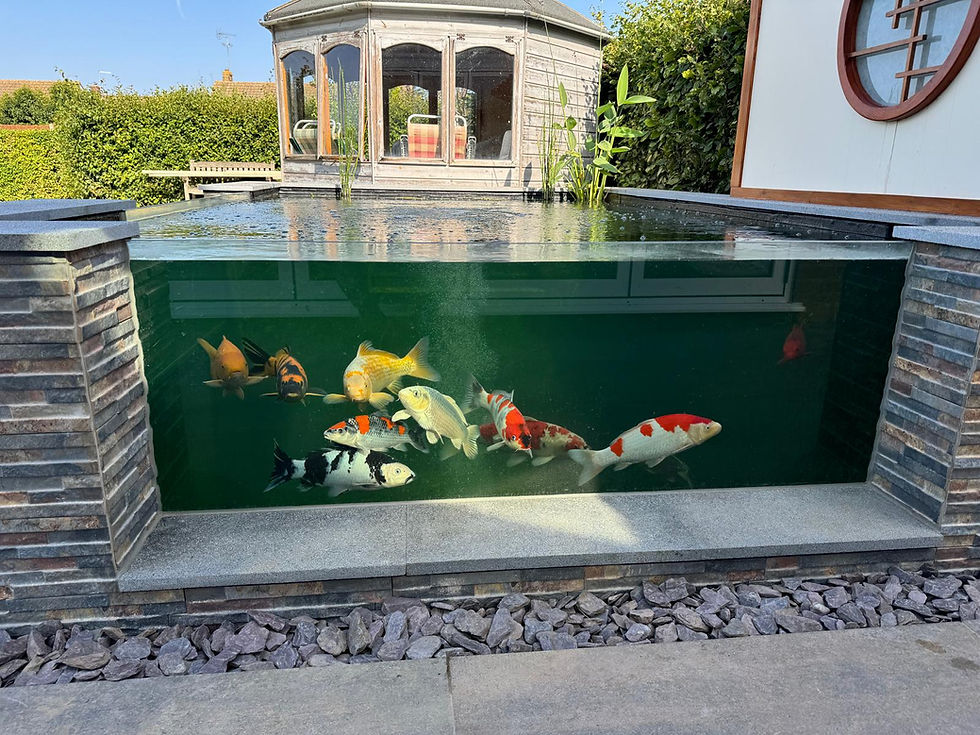
Want that crystal-clear underwater view? This guide explains two proven methods for installing a pond viewing window, directly into brickwork or using a fibreglass frame, with practical tips to achieve a clean, watertight finish.
At a glance
Two main approaches: brickwork rebate or fibreglass frame
Aim for a 3–5 mm silicone gap around the glass
Overlap pond liner ~40 mm onto the glass
Use pond-safe silicone and allow full cure times
Option 1: Pond Window Installed into Brickwork
1) Build the rebate (the seat for the glass)
Create a recess inside the pond wall (brick or sleepers) sized at ≈45 mm wide and as deep as the glass thickness. Build this as you lay blocks (don’t chase it out later), and allow +5 mm in height for packers under the glass.
Size the opening 6–10 mm larger than the glass overall so you have 3–5 mm clearance on each side for silicone. Let all mortar fully cure before fitting.
2) Position and secure the glass
Set packers beneath the panel, level the top edge, and clamp the glass in place. Fill the side gaps (3–5 mm) with continuous beads of pond-safe silicone. When cured, apply a smooth render from block face to glass for a neat, flush surface.
3) Prepare and fix the pond liner
Mask the inside face of the glass 40 mm in from the three rebated edges. Offer up the liner so it lies flat with no creases against the walls and glass. Mark a 40 mm overlap onto the glass, cut the opening, and apply multiple parallel beads of silicone to both render and glass.
Press the liner onto the beads with steady, even pressure (enough to flatten and merge the beads, but not stretch the liner). Remove tape, trim any visible liner from the viewing side, and smooth the liner edge firmly onto the glass.
Staged sealing variation: Fix the liner with two beads, allow to cure overnight, then add further beads in stages until the full seal is built up. This helps keep silicone invisible from the viewing side.
Liner-first variation: Bond liner to the render, then set the glass against the liner and pack silicone around. This “sandwich” benefits from water pressure but requires extra care to avoid liner creases, use generous silicone.
Pro tip: Warm silicone (bucket of warm water) flows and tools far easier.
Option 2: Pond Window with a Fibreglass Frame
Form the wall opening and bed the frame so it sits slightly proud of the wall.
Screw-fix the frame for stability (typically four fixings), then render to a flat, true face.
Add insulation/render as required for a flush finish to the frame edge.
Fibreglass the entire internal shell, including over the frame.
Set the glass into the frame and seal thoroughly with pond-safe silicone.
This route often delivers the cleanest visual finish and reduces the chance of liner creases, though material costs are typically higher than brickwork.
Materials & Tools Checklist
Pond viewing window glass (spec per design/engineer)
Packers and clamps
Pond-safe silicone / adhesive (high modulus; manufacturer-approved for immersion)
Masking tape, white pencil/marker, knife
Render materials and finishing tools
Fibreglass frame and fixings (for Option 2)
Common Mistakes (and How to Avoid Them)
Chasing rebates after building: plan the rebate as you lay blocks for accuracy.
Insufficient curing: rushing mortar or silicone curing risks leaks.
Creased liner behind glass: ensure the liner sits flat; use staged sealing if needed.
Wrong sealant: only use pond-safe products suitable for constant immersion.
No expansion gap: always allow 3–5 mm per side for silicone.
FAQs: Pond Window Installation
How big should the gap be around the pond window glass?
Allow 3–5 mm on each side (opening 6–10 mm larger than the glass overall) for a reliable silicone seal.
How much should the liner overlap onto the glass?
Aim for ~40 mm of liner bonded to the glass all the way round.
Brickwork or fibreglass frame, which is better?
Brickwork is usually more cost-effective. Fibreglass frames offer a sleek, flush finish and can simplify sealing, at higher cost.
How many silicone beads do I need?
Follow your product’s guidance, but multiple parallel beads that flatten together under pressure provide a robust seal. Many installers use ~10 beads across the bond area for brickwork + liner interfaces.
Can I install the liner first, then the glass?
Yes, it creates a water-pressure “sandwich,” but you must eliminate liner creases and use plenty of silicone to prevent channels.
Safety & Compliance
Pond windows are structural components. Always follow manufacturer guidance, observe cure times, and consult a professional or structural engineer for glass specification and load assumptions where required.
Disclaimer: This guide is for general information only. We are not liable for losses or damages arising from its use.


Comments